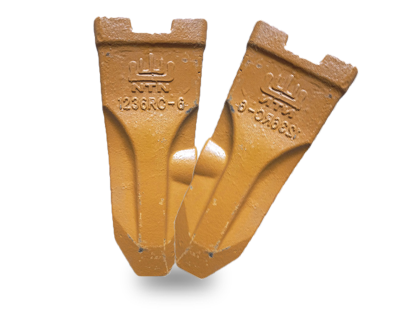

Successfully welding adaptors to a bucket lip is the first step in maximising the wear life of bucket teeth.
Here we outline the steps to weld bucket adaptors to bucket edges.

Preparation
1. Use basic electrodes with a low content of hydrogen E7018 weld rod or E70T-5 (do not use E70T-1) cored wire with CO2 gas shielding. Store weld rod in 120˚C oven. Recondition exposed supply of weld rod by reheating for two hours at 260˚C. Remove only enough weld rod for one hour of use.
The moisture level of exposed low hydrogen electrodes can be too high and cause weld cracking.
2. Grind all weld points smooth on the base edges and on the adaptor
Note: high speed disc sanders are preferred over grinders as grinding on a cold, heat treated steel with a grinding wheel can generate hot spots. Indicated by a blue/black or brown colour. Rapid cooling after grinding creates small surface cracks.
3. Using a wire brush remove all paint, rust, grease and dirt from the surfaces to be welded.
4. Do not weld, flame cut, gouge or do any heavy grinding on the base edge, adaptors or welds until the area is preheated to 204˚C to 260˚C.
5. Do not use gas shielded welding in windy areas or where fans are present. Poor welds can occur due to excessive cooling.
Pre-heating instructions
It is not necessary to preheat the adaptors or the base edge when the base cutting edge is 25mm thick or less.
Do not preheat the entire length of the blade edge already welded to a bucket. Expansion of the base edge can cause cracks in the rear edge weld.
Do not preheat any portion of the base edge or adaptors until all components are at room temperature.
Verify position of corner adaptors to the bucket and then equally space the adaptors across the base edge.
Preheat the entire adaptor and an area of the base edge extending 100mm beyond the weld area from the side opposite to be welded.
Heat to 260˚C and check the temperatures of both pieces on the side to be welded.
To prevent losing hardness, do not exceed 315˚C. Reheat if temperatures fall below 175˚C.
General welding instructions
1. The ground cable should be firmly attached to the base edge, not the adaptors.
2. Position the work so that the weld can be applied horizontally, allowing for higher amperage and deposition rates along with a puddle of molten metal that is easier to control.
3. Good weld fusion with adaptors and base edge is extremely critical. Incomplete fusion with the adaptor or base edge will result in an underbead crack. This unseen crack, with time, will propagate to the surface at the edge of the weld, leading to a strap or base edge cracking and finally to breakage.
4. Adaptors commonly have a 30˚ to 45˚ bevel along the sides of the edge straps which makes it difficult to obtain the proper electrode angle and to maintain puddle control unless the base edge is positioned on end. Ideally the bevel welds are best controlled with the base edge vertical and the adaptor sides horizontal, and the fillet welds with the edge moved off from vertical as shown.
5. In most cases, it will be impossible to adjust the weld area in to this position, but whatever angle the edge or bucket can be placed it will be helpful in preventing the molten puddle from pulling away from the bevelled surface. More numerous, but smaller, weld passes will help to compensate for lack of proper position.
Warning: Welding on painted areas is not recommended.
Do not perform any procedure until you read and understand the information contained within.